docker上启动nginx
1、查看可用的 Nginx 版本
访问 Nginx 镜像库地址: https://hub.docker.com/_/nginx?tab=tags。
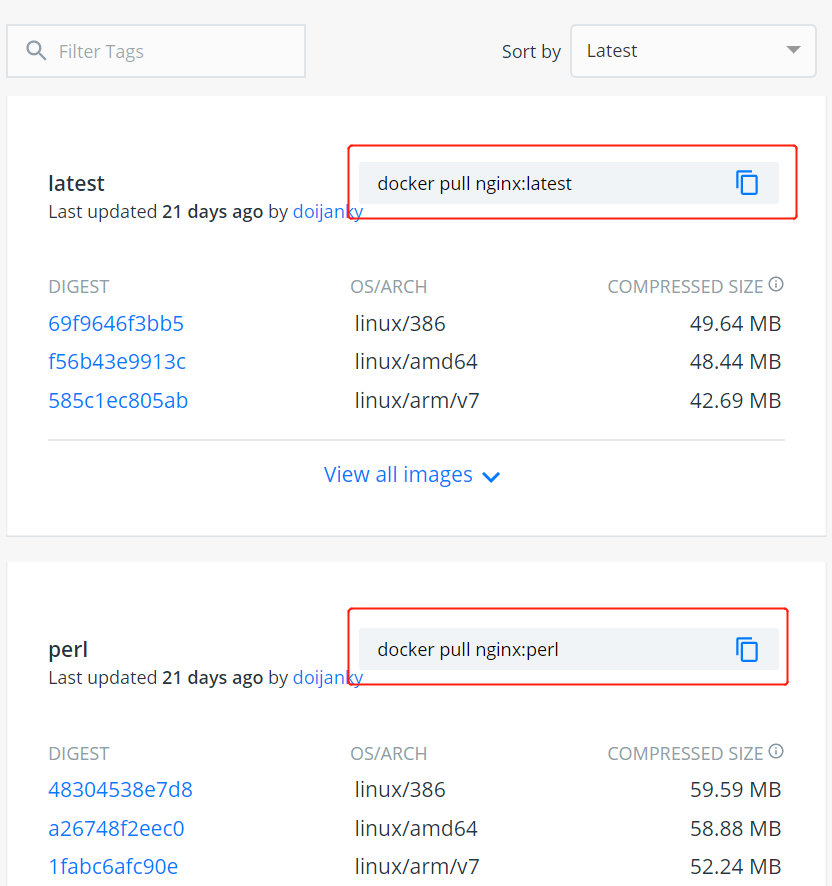
可以通过 Sort by 查看其他版本的 Nginx,默认是最新版本 nginx:latest。
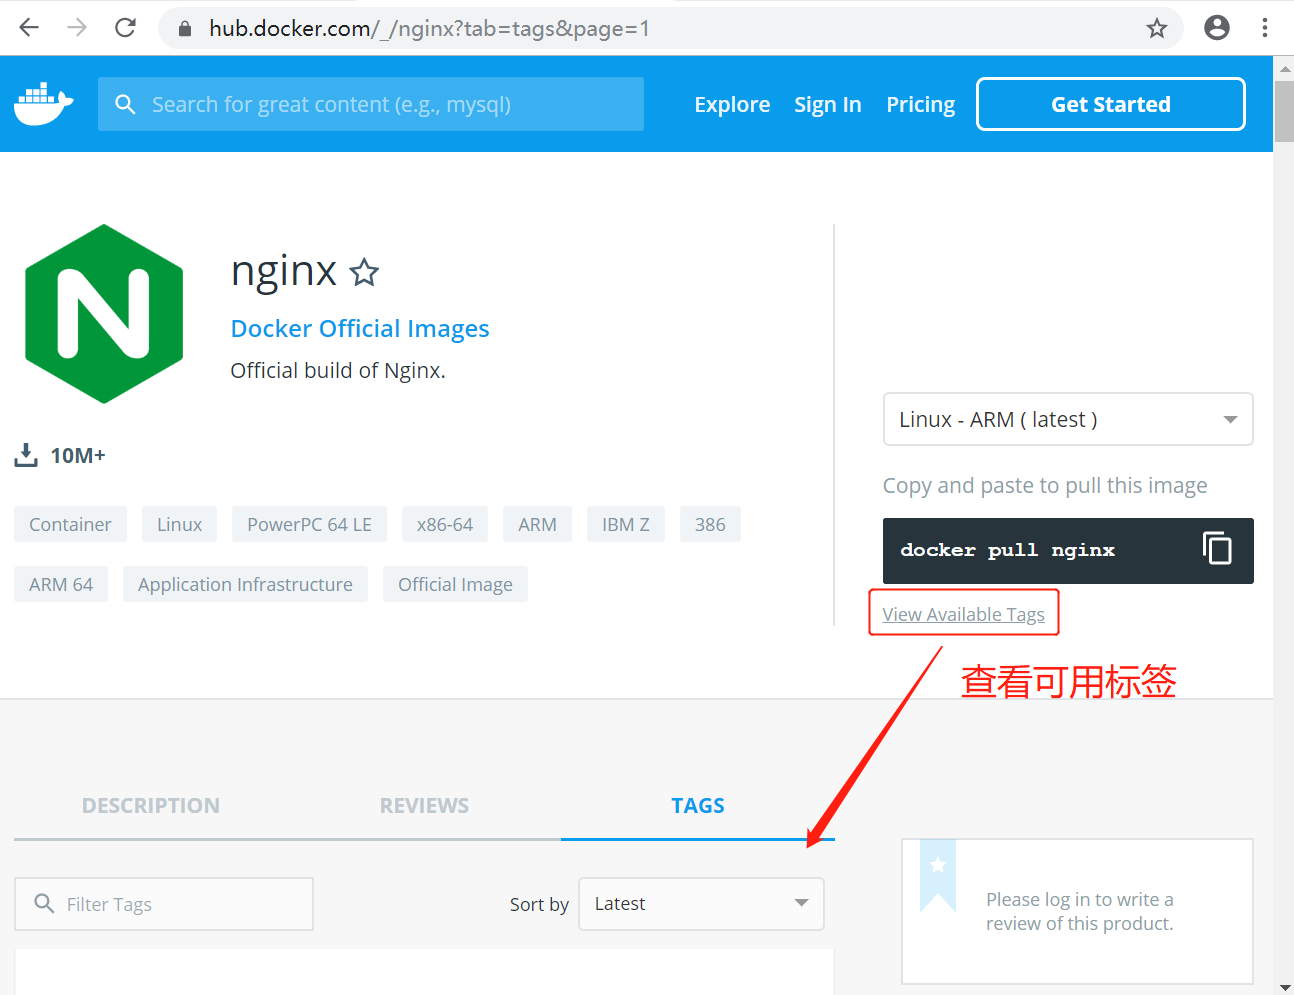
你也可以在下拉列表中找到其他你想要的版本:
此外,我们还可以用 docker search nginx 命令来查看可用版本:
1
2
3
4
5
6
7
8
| $ docker search nginx
NAME DESCRIPTION STARS OFFICIAL AUTOMATED
nginx Official build of Nginx. 3260
jwilder/nginx-proxy Automated Nginx reverse proxy for docker c... 674
richarvey/nginx-php-fpm Container running Nginx + PHP-FPM capable ... 207
million12/nginx-php Nginx + PHP-FPM 5.5, 5.6, 7.0 (NG), CentOS... 67
maxexcloo/nginx-php Docker framework container with Nginx and ... 57
...
|
2、取最新版的 Nginx 镜像
这里我们拉取官方的最新版本的镜像:
1
| $ docker pull nginx:latest
|

3、查看本地镜像
使用以下命令来查看是否已安装了 nginx:

在上图中可以看到我们已经安装了最新版本(latest)的 nginx 镜像。
4、运行容器
安装完成后,我们可以使用以下命令来运行 nginx 容器:
参数说明:
- --name nginx-test:容器名称。
- -p 8080:80: 端口进行映射,将本地 8080 端口映射到容器内部的 80 端口。
- -d nginx: 设置容器在在后台一直运行。

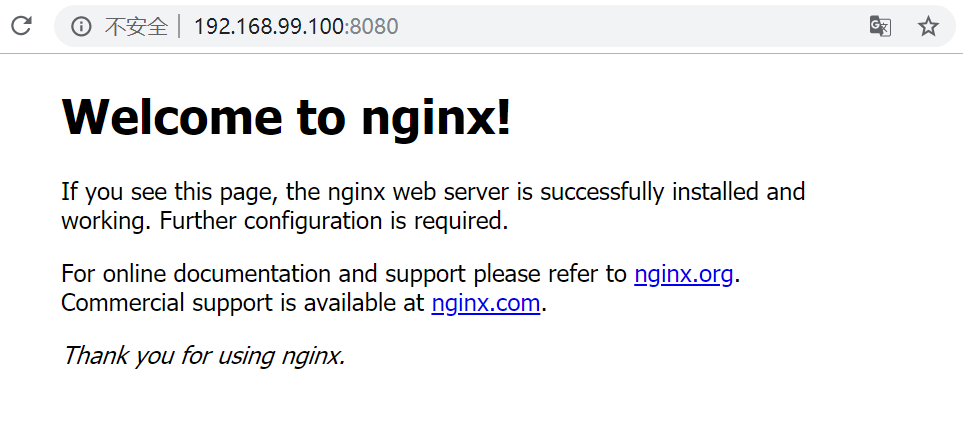
5、安装成功
最后我们可以通过浏览器可以直接访问 8080 端口的 nginx 服务:
配置修改nginx的配置文件
容器中直接修改
我们想要改变配置文件nginx.conf ,进入容器,命令:
1
| docker exec -it nginx bash
|
nginx.conf配置文件在 /etc/nginx/ 下面,但是你使用vim nginx.conf 或者vi nginx.conf
会发现vi或者vim命令没有用,解决办法:apt-get update 完成之后 apt-get install vim
此时你就可以自己定制nginx.conf文件了,改好配置文件之后重启容器,步骤,先把容器停了
然后重启
这样不是很方便,
挂载配置文件
就是把装有docker宿主机上面的nginx.conf配置文件映射到启动的nginx容器里面,这需要你首先准备好nginx.con配置文件,如果你应经准备好了,下一步是启动nginx
命令:
1
| docker run --name nginx -p 80:80 -v /home/docker-nginx/nginx.conf:/etc/nginx/nginx.conf -v /home/docker-nginx/log:/var/log/nginx -v /home/docker-nginx/conf.d/default.conf:/etc/nginx/conf.d/default.conf -d nginx
|
解释下上面的命令:
--name 给你启动的容器起个名字,以后可以使用这个名字启动或者停止容器
-p 映射端口,将docker宿主机的80端口和容器的80端口进行绑定
-v 挂载文件用的,第一个-v 表示将你本地的nginx.conf覆盖你要起启动的容器的nginx.conf文件,第二个表示将日志文件进行挂载,就是把nginx服务器的日志写到你docker宿主机的/home/docker-nginx/log/下面
第三个-v 表示的和第一个-v意思一样的。
-d 表示启动的是哪个镜像
我个人更喜欢第二种映射的方式,麻烦的是需要自己准备好nginx.conf 和default.conf文件,我是直接从容器里面复制的,然后根据自己的需要改的
nginx.conf:
1
2
3
4
5
6
7
8
9
10
11
12
13
14
15
16
17
18
19
20
21
22
23
24
25
26
27
28
29
30
31
32
33
34
35
| user nginx;
worker_processes auto;
error_log /var/log/nginx/error.log notice;
pid /var/run/nginx.pid;
events {
worker_connections 1024;
}
http {
include /etc/nginx/mime.types;
default_type application/octet-stream;
log_format main '$remote_addr - $remote_user [$time_local] "$request" '
'$status $body_bytes_sent "$http_referer" '
'"$http_user_agent" "$http_x_forwarded_for"';
access_log /var/log/nginx/access.log main;
sendfile on;
keepalive_timeout 65;
upstream halo {
server 127.0.0.1:8090;
}
include /etc/nginx/conf.d/*.conf;
}
|
default.conf:
1
2
3
4
5
6
7
8
9
10
11
12
13
14
15
16
17
18
19
20
21
22
23
24
25
26
27
28
29
30
31
32
33
34
35
36
37
38
39
40
41
42
43
44
45
46
47
48
49
| server {
listen 80;
listen [::]:80;
server_name halo;
client_max_body_size 1024m;
location / {
proxy_pass http://halo;
proxy_set_header HOST $host;
proxy_set_header X-Forwarded-Proto $scheme;
proxy_set_header X-Real-IP $remote_addr;
proxy_set_header X-Forwarded-For $proxy_add_x_forwarded_for;
}
error_page 500 502 503 504 /50x.html;
location = /50x.html {
root /usr/share/nginx/html;
}
}
|
附录一些可能用上的docker命令
- 查看容器IP地址